
Coronavirus killed my wifi
Like everyone else in the world, my household has been stuck at home for the past few months. All that working from home traffic, streaming, gaming, etc hasn’t been easy on my aging wifi access point (not technically a router in my case), and a week or two ago my wifi finally died. Woe.
In normal times, a quick trip to Best Buy for a new one would’ve been the end of it- but alas, the shelves were empty, and delays from Amazon meant the Earl household was looking at nearly five days without wifi before a replacement could arrive. Five, miserable days of being tethered by ethernet cables, of hearing a dystopian chorus of every Alexa screaming in unison about their lack of an internet connection, of smart lights stubbornly refusing to turn themselves off… in short, hell on earth.
Not today, Satan.
Raspberry Pi to the Rescue
Like any good tinkerer, I happened to have a spare Raspberry Pi 4 lying around, intended for another project I hadn’t gotten to yet. And what is a Raspberry Pi if not a piece of programmable hardware with a built-in wifi radio? Salvation, that’s what. So I decided to science the shit out of this problem, and you can too.
With a few simple modifications, the Pi can easily be transformed into a basic wifi router or access point. It’s not going to win any speed records, but it’s more than capable for most day-to-day browsing and work. To do so, all you need are:
- Raspberry Pi & power cable, SD card, etc
- A model 3 or 4 is preferred since they have built-in wifi radios with fairly beefy specs otherwise, but if you have a Pi 1 or 2 with a USB wifi dongle or even a Zero W that can work too
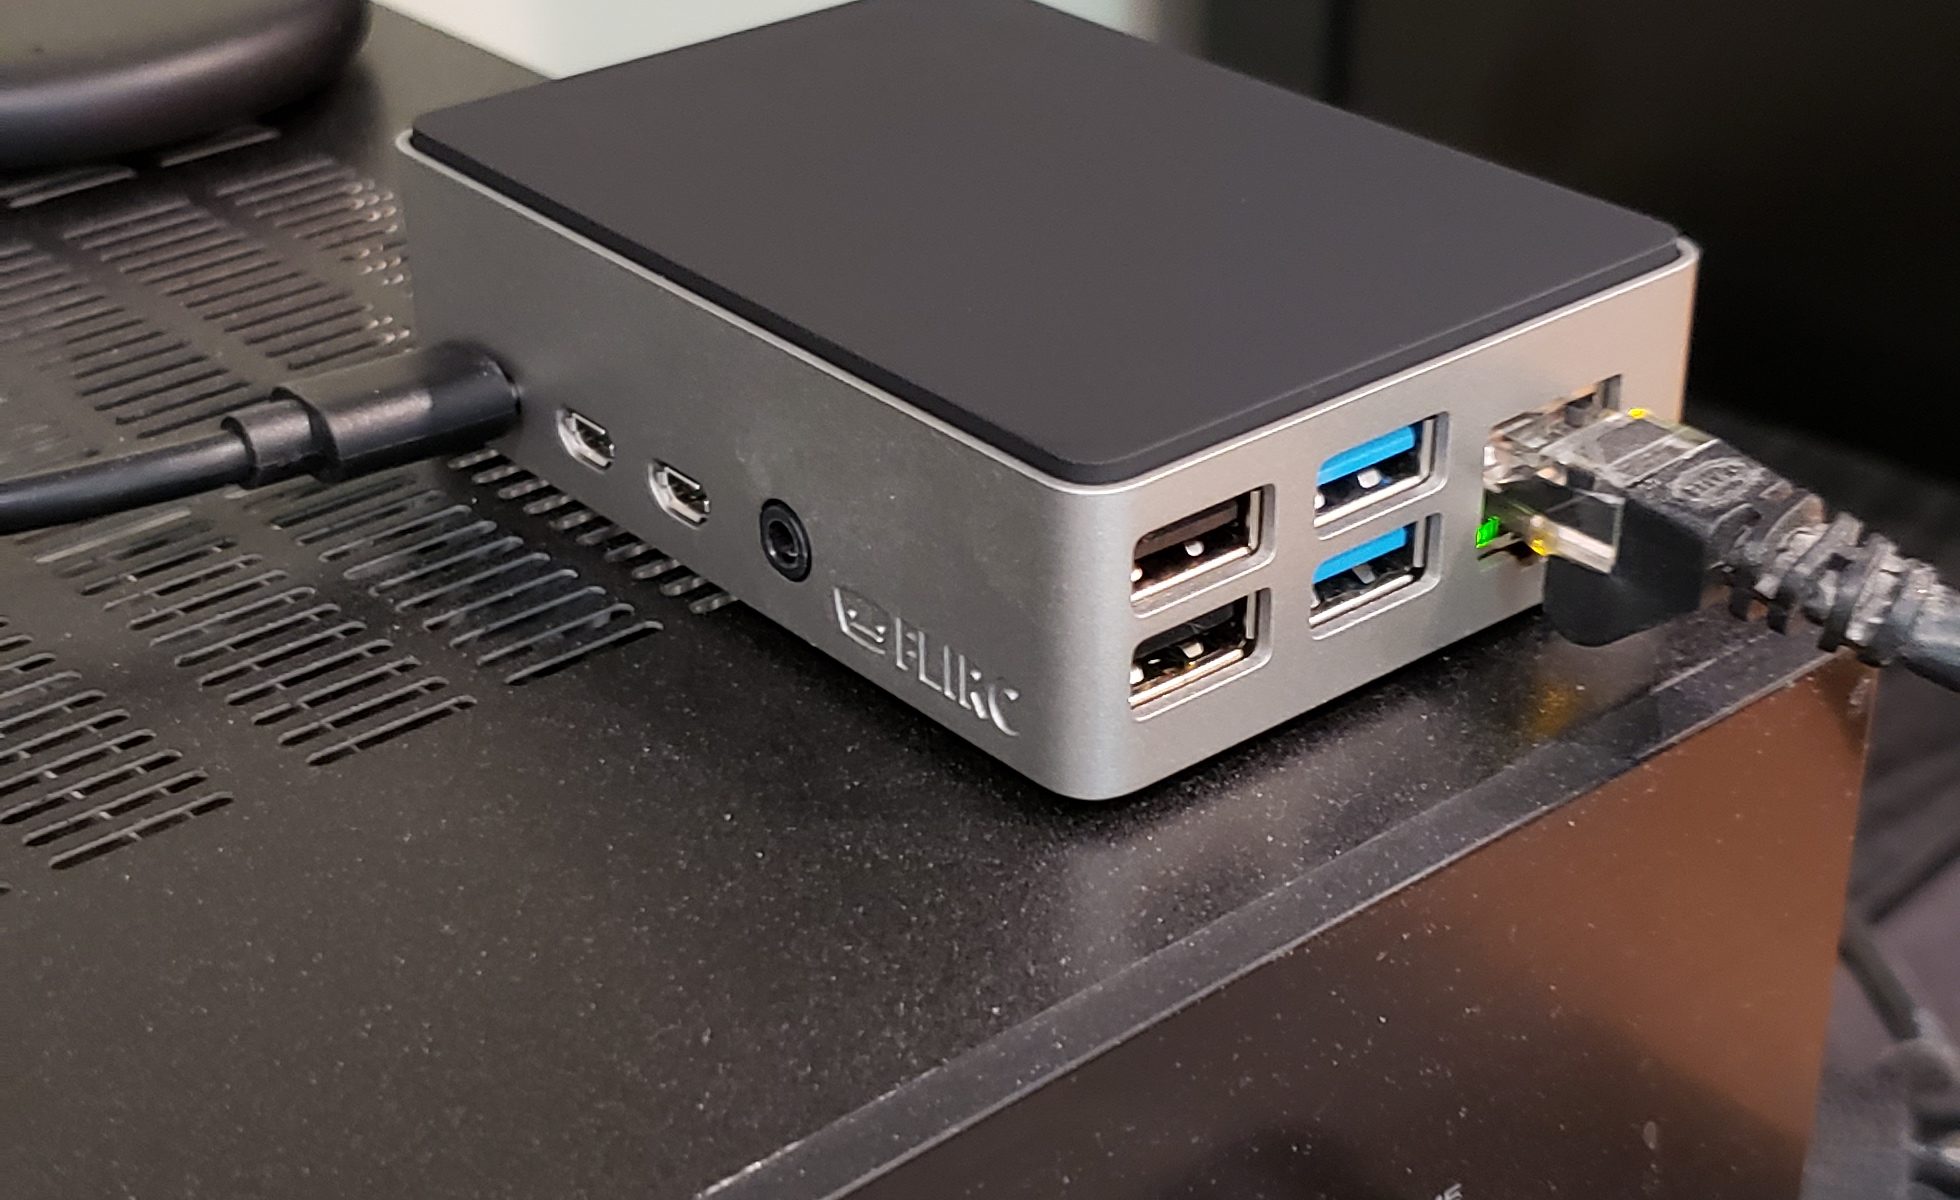
- Sexy case (optional). I used a Flirc case which I highly recommend
- Ethernet cable, to connect the Pi to your internet connection
- 30 Minutes of time
Initial Setup & Configuration
First off, you should install Raspbian Lite . We don’t need a desktop environment or any other bloat from the full Raspbian or NOOBS images, and its usually best to start small and build up. We’ll add all the software we need later.
Next, you’ll need to configure the Pi for initial use by running the raspi-config utility.
Important things to do here are:
- Set your localization options. The Raspbian Lite image defaults to UK language & keyboard layout, so if you’re anywhere else you’ll want to set these to your local country settings. If you miss this step, you might have issues later, especially around setting passwords that contain special characters, since these can be assigned to different keys on the keyboard depending on the country setting. I learned this the hard way once. You also need to set your wifi country. Many countries uses slightly different wireless frequencies, and the Pi will not activate wifi functionality until this is set.
- Change the default user password for the Pi itself. You never want to leave the default password on anything connected to the internet- especially not your router! Make sure you set your keyboard language first in the previous step.
Transform the Pi into a Wifi Router or Access Point
From here, you’ll need to decide if you need the Pi to be a router or just an access point. If you’re not sure what the difference is, you most likely need it to be a router. If you already have another device that is acting as a router (such as a router…) then you’ll need it to be an access point. Either way, you’ll be using the packages hostapd and dnsmasq to configure the Pi to use its ethernet connection as “internet in”, and its wifi radios as “internet out”
RaspberryPi.org has instructions for both creating a true router, and for creating an access point, including the right packages to install and how to configure them. I won’t repeat it all here, just pick the right one for your use case and follow the instructions given:
Router: https://www.raspberrypi.org/documentation/configuration/wireless/access-point-routed.md
Access Point: https://www.raspberrypi.org/documentation/configuration/wireless/access-point-bridged.md
Final Steps
At this point, your Raspberry Pi is now a functional router or access point! Make sure you can connect to it from another device, using the network name and password you set in the prior step.
If you’re going to be using your new wifi for more than a few hours at a time, I recommend installing a heatsink & fan; using the wifi radios constantly can lead to more heat build-up than usual, which you’ll notice when your other devices start dropping the wifi connection. If you’re using the Flirc case like me, you shouldn’t have any heat problems but your mileage my vary.
That’s it! Crisis averted.
Here’s my final “emergencyPi” access point! Looks super cool too:
